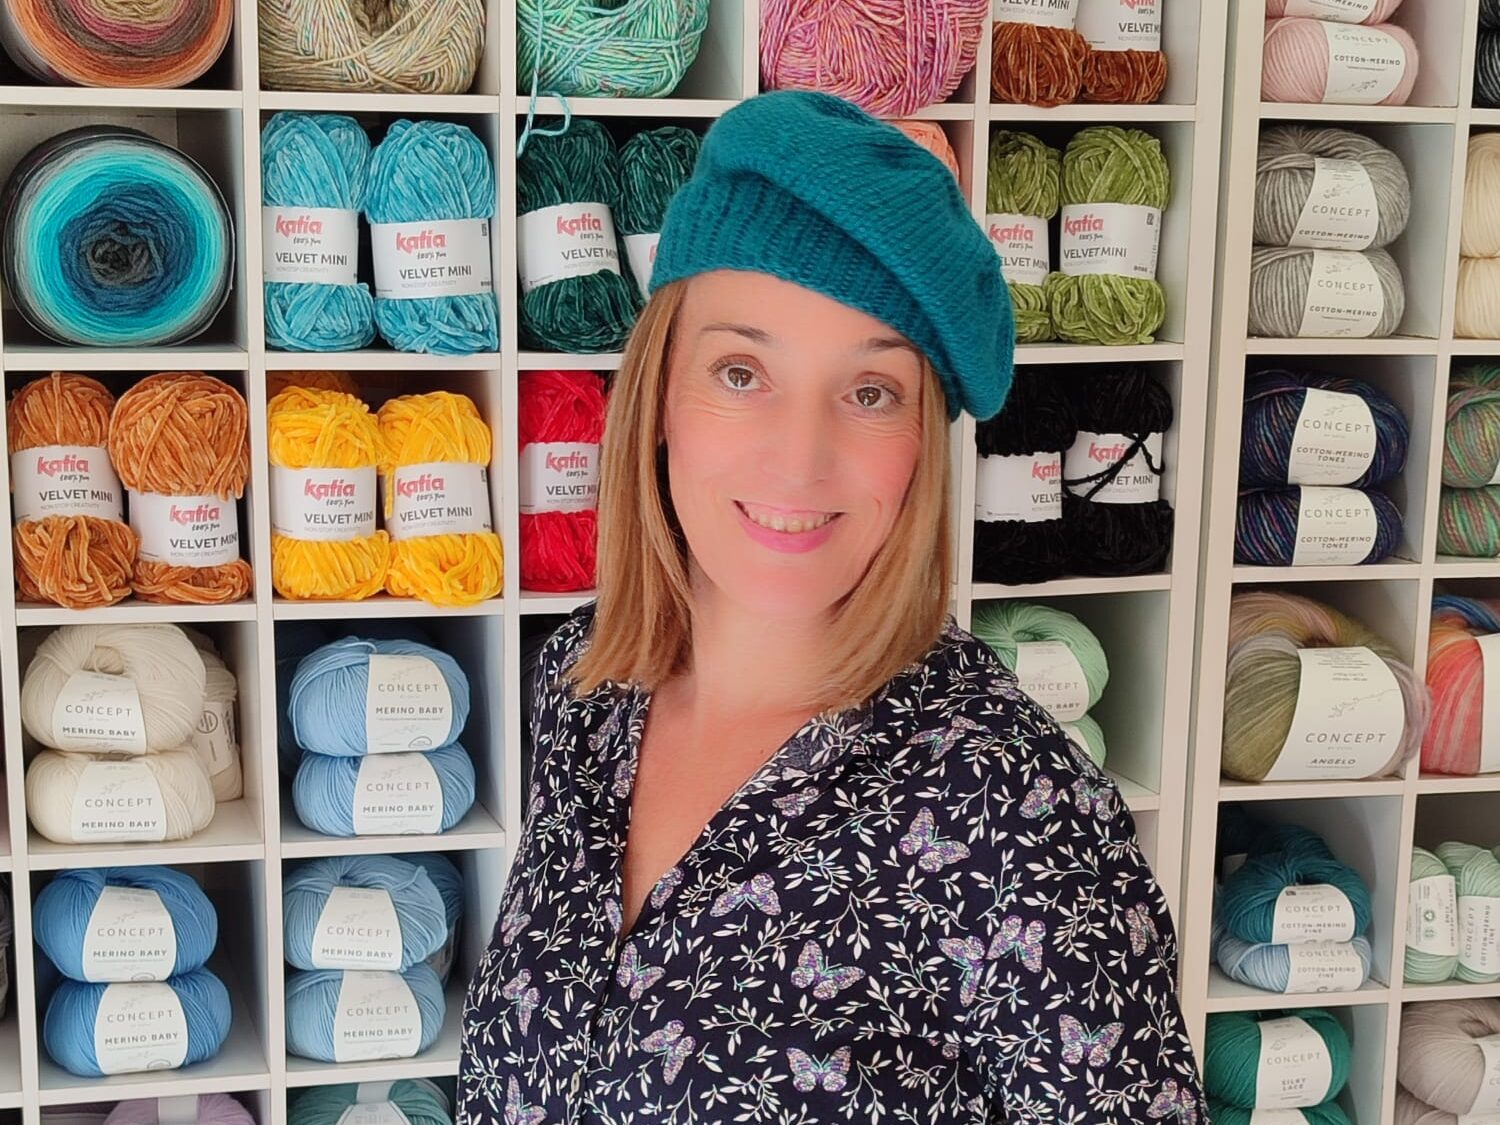


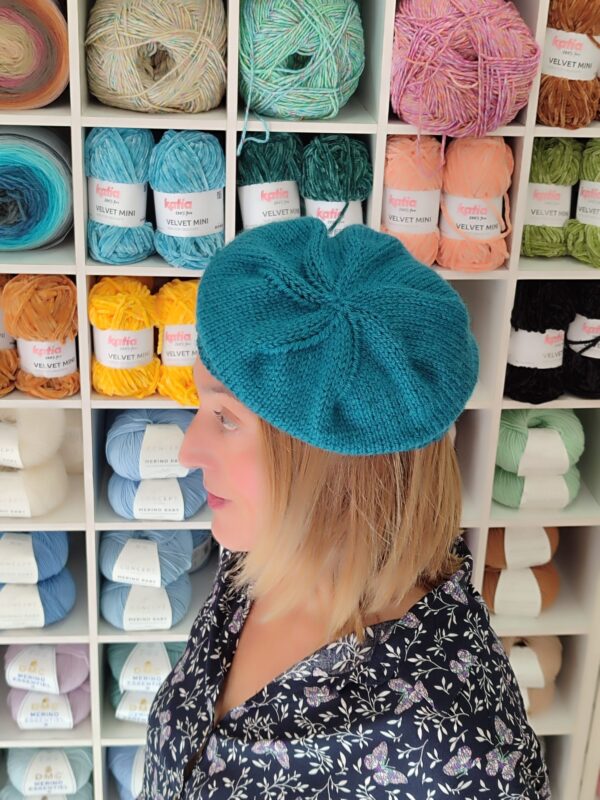
Step by step tutorial: Two-needle merino beret.
I love this plugin, I see it elegant and very original, I am going to teach you step by step how to knit with two needles this beautiful beret that I have called #boinamerino, I designed it last year and as you will see, it is simple and quick to knit..
It is woven with Katia's Merino Aran quality, I chose this wool because it is medium thickness with good performance, the ball of 100 grams has 155 metros. Apart, has a 52% virgin merino wool with superwash treatment, complies with all international certification that guarantees that it is free of harmful dyes and comes with a wide range of colors to choose from.
MERINO BERET
Technique: Right point.
Difficulty: Basic.
Materials:
- 1 ball of Merino Aran from Katia.
- Needles of the 4/5
- Aguja to work
HANDS TO THE NEEDLES:
First we make the elastic:
We set up 90 points, we begin to knit the elastic 2 knit stitch/1 purl stitch, Thus we reach the 5 centimeters and we already have the elastic.
We knit the body of the beret:
Now we only knit the 1st round with a knit stitch, increasing a stitch every 6 sts and we continue like this throughout the round., will have increased a total of 15 pts. In total we will have on the needles 105 points.
Once the first round is over, we continue with the stitch to the right.. When we have in total 13 cms since we began the first turn to the right we will begin with the decreased, If we make the beret with straight needles, they will only decrease on the odd rows., If we do it with circular needles they will decrease in all the rounds.
To begin, the men will divide the beret into 7 parts ( 105 ptos /7=15).
We make the reductions every 15 points, I have put markers every 15 points and in total they would be 7 markers, before reaching the last two we decrease and so on in each round until we have two stitches per marker on the needles, We do this with circular needles. If we knit with flat needles, the decreases, as I said before, would be on the odd rows..
When you have finished the trimmings, cut the strand very long..
We thread a wool needle with that thread and pass it through the stitches that remain on the needles., so we will close our beret, and ready!!!
I hope you are encouraged to knit this original accessory.
Like all my own designs I share them for free, and I would be very grateful if when you share the project or publish photos of the knitted garment you name me as its author.: @elhogardelaslanas